So, you're trying to get AWS IoT Remote SSH up and running, but it's not cooperating? Don’t worry, you’re not alone. AWS IoT is a powerful tool, but sometimes it can be a bit tricky to troubleshoot when things don’t go as planned. Whether you’re dealing with connection issues, permission problems, or just plain confusion, this guide is here to help you out.
Let’s face it—AWS IoT Remote SSH is supposed to make your life easier by allowing secure access to devices remotely. But if it’s not working, that can feel like a huge roadblock. Before we dive deep into the solutions, let’s quickly break down what AWS IoT Remote SSH is all about. Essentially, it lets you connect to your IoT devices via SSH without needing to expose them to the public internet. Sounds awesome, right? Well, it is—when it works.
But hey, don’t panic if it’s not working. We’ve all been there. Maybe your AWS IoT Core configuration is off, or maybe it’s something as simple as a typo in your security policy. Whatever the issue, we’re going to walk through everything step by step so you can fix it and get back to focusing on what matters most: building awesome IoT solutions.
Read also:Musks Hospital Closure Impact Revealed A Closer Look At Whats Really Going On
Table of Contents
- What is AWS IoT Remote SSH?
- Common Issues with AWS IoT Remote SSH
- Setup Guide for AWS IoT Remote SSH
- Troubleshooting Tips
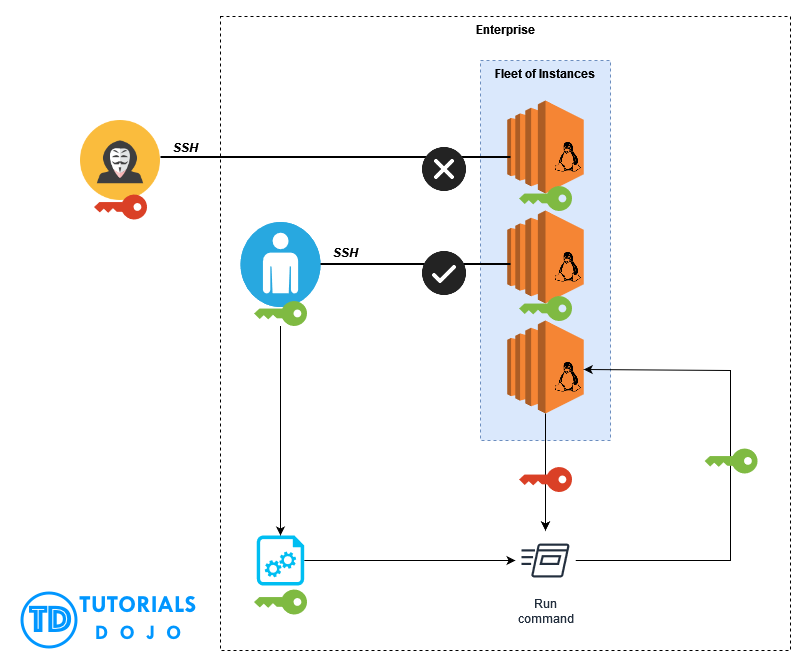
- Permissions and Policies
- Network Configuration
- Device Connection
- Security Best Practices
- Advanced Debugging
- Conclusion
What is AWS IoT Remote SSH?
First things first—let’s clarify what AWS IoT Remote SSH actually is. It’s a feature provided by AWS IoT Core that enables you to establish a secure SSH connection to your IoT devices without exposing them to the public internet. Instead of opening ports or setting up complex firewall rules, AWS handles the heavy lifting for you.
Here’s how it works: your IoT device connects to AWS IoT Core, and from there, you can initiate an SSH session using the AWS CLI or SDK. This means you don’t need to worry about managing public IPs or dealing with NAT traversal. Sounds pretty sweet, doesn’t it?
Why Use AWS IoT Remote SSH?
There are plenty of reasons why you’d want to use AWS IoT Remote SSH. For starters, it simplifies device management by eliminating the need for manual port forwarding or other network configurations. Plus, it enhances security by keeping your devices behind AWS’s robust infrastructure. And let’s not forget—it saves time and effort, which is always a win in the world of development.
Common Issues with AWS IoT Remote SSH
Now that we’ve covered the basics, let’s talk about some of the most common issues people face when working with AWS IoT Remote SSH. These problems can range from misconfigurations to network restrictions, and they often leave users scratching their heads. Here’s a quick rundown:
- Connection timeouts: Your SSH session keeps timing out before you even get a chance to log in.
- Permission denied: You try to connect, but AWS tells you that you don’t have the necessary permissions.
- Device not connected: Your IoT device isn’t showing up in the AWS IoT console, making it impossible to establish a connection.
- Public key errors: The public key you’re using doesn’t match the one stored on the device.
These are just a few examples, but don’t worry—we’ll cover each one in detail later on. For now, just know that these issues are solvable with the right approach.
Setup Guide for AWS IoT Remote SSH
Before we dive into troubleshooting, let’s make sure your setup is correct. A solid foundation is key to avoiding headaches down the line. Here’s a step-by-step guide to setting up AWS IoT Remote SSH:
Read also:Carly Jane Onlyfans The Ultimate Guide To Her Rise Content And Impact
Step 1: Install the Necessary Tools
First, you’ll need to install the AWS CLI and configure it with your credentials. If you haven’t done this already, head over to the AWS CLI documentation and follow the instructions. Once you’ve got that sorted, make sure you’ve installed an SSH client on your machine.
Step 2: Configure Your IoT Device
Your IoT device needs to be set up correctly to work with AWS IoT Remote SSH. This includes:
- Installing the AWS IoT Device SDK.
- Configuring the device to connect to AWS IoT Core.
- Setting up the necessary certificates and keys.
Make sure everything is in place before moving on to the next step.
Step 3: Create a Thing in AWS IoT Core
In the AWS IoT console, create a new “Thing” and associate it with your device. This will allow AWS to recognize your device and enable Remote SSH functionality.
Troubleshooting Tips
Alright, let’s get down to business. If your AWS IoT Remote SSH isn’t working, here are some troubleshooting tips to help you identify and fix the problem.
Check Your Security Policies
One of the most common issues is incorrect security policies. Make sure your policies allow the necessary actions for Remote SSH. For example, your policy should include:
iot:Connectiot:Receiveiot:Publish
Double-check that these actions are included in your policy and that the resource ARN matches your device.
Verify Device Certificates
Another potential issue is mismatched certificates. Ensure that the certificate installed on your device matches the one registered in AWS IoT Core. You can check this by comparing the certificate IDs in the AWS console and on your device.
Test Network Connectivity
Network issues can also cause problems with AWS IoT Remote SSH. Use tools like ping and traceroute to test connectivity between your device and the AWS endpoint. If you’re behind a firewall, make sure the necessary ports are open.
Permissions and Policies
Permissions and policies play a crucial role in AWS IoT Remote SSH. If your policies aren’t configured correctly, you won’t be able to establish a connection. Here’s a breakdown of what you need to know:
Understanding IAM Roles
IAM roles are essential for controlling access to AWS resources. When setting up Remote SSH, make sure your IAM role includes the necessary permissions for IoT Core. This typically involves attaching the AmazonIoTFullAccess policy to your role.
Device Policies
Each IoT device needs its own policy to define what it can and cannot do. Your device policy should allow actions like iot:Connect and iot:Publish, as mentioned earlier. Without these permissions, your device won’t be able to communicate with AWS IoT Core.
Network Configuration
Network configuration is another critical factor in getting AWS IoT Remote SSH to work. If your device can’t reach the AWS endpoint, you won’t be able to establish a connection. Here’s how to ensure your network is set up correctly:
Check DNS Settings
Make sure your device is using the correct DNS servers to resolve AWS endpoints. You can test this by pinging the endpoint from your device and verifying that it resolves to the correct IP address.
Firewall Rules
If you’re behind a firewall, ensure that the necessary ports are open. AWS IoT Core uses port 8883 for MQTT communication, so make sure this port is allowed in your firewall rules.
Device Connection
Your IoT device needs to be connected to AWS IoT Core before you can use Remote SSH. If your device isn’t showing up in the AWS console, here’s how to troubleshoot:
Check Device Logs
Most IoT devices have logging capabilities that can help you diagnose connection issues. Check the logs for any errors or warnings that might indicate what’s going wrong.
Test Connectivity
Use tools like mqttsns or mosquitto_pub to test connectivity between your device and AWS IoT Core. If you can’t establish a connection, there may be an issue with your device configuration or network settings.
Security Best Practices
Security is always a top priority when working with AWS IoT Remote SSH. Here are some best practices to keep in mind:
Use Strong Passwords
Make sure your SSH passwords are strong and unique. Avoid using default passwords or easily guessable combinations.
Enable Two-Factor Authentication
Two-factor authentication adds an extra layer of security to your SSH sessions. It’s a small inconvenience that can save you a lot of trouble in the long run.
Advanced Debugging
If you’ve tried everything and your AWS IoT Remote SSH still isn’t working, it’s time to break out the big guns. Advanced debugging techniques can help you pinpoint the root cause of the issue.
Enable Debug Logging
Most IoT devices and AWS SDKs have debug logging capabilities. Enable these logs to get more detailed information about what’s happening during the connection process.
Use Wireshark
Wireshark is a powerful network analysis tool that can help you inspect traffic between your device and AWS IoT Core. If you’re comfortable with packet analysis, this can be a great way to identify network-level issues.
Conclusion
And there you have it—a comprehensive guide to troubleshooting AWS IoT Remote SSH. Whether you’re dealing with connection issues, permission problems, or network restrictions, the tips and techniques outlined in this article should help you get back on track.
Remember, AWS IoT Remote SSH is a powerful tool, but it requires careful configuration to work properly. Take the time to set things up correctly, and don’t hesitate to reach out to the AWS support team if you need additional help.
Got any questions or comments? Drop them below, and let’s keep the conversation going. Happy troubleshooting, and good luck with your IoT projects!