So, you’ve just brought home your shiny new Babyletto Lolly Crib, and now you’re wondering how to assemble it like a pro. Well, don’t panic! We’ve got you covered. The Babyletto Lolly Crib is not just a piece of furniture; it’s an investment in your baby’s comfort and safety. But before we dive into the instructions, let’s talk about why this crib is worth every penny and why it deserves a spot in your nursery.
Now, I know what you’re thinking—“Another crib, another set of instructions.” But trust me, the Babyletto Lolly Crib is different. It’s sleek, modern, and designed with both functionality and aesthetics in mind. Plus, it converts into a toddler bed, so it’s a crib that grows with your little one. That’s a win-win situation if you ask me.
Before we get started, let’s address the elephant in the room: assembling furniture can be stressful. But fear not! This guide will walk you through everything you need to know about the Babyletto Lolly Crib instructions, from unpacking to putting the finishing touches. So grab a cup of coffee, take a deep breath, and let’s get started!
Read also:Victoria Azarenka The Story Of A Tennis Legend
Here’s a quick overview of what we’ll cover:
- Understanding the Babyletto Lolly Crib
- Step-by-step assembly instructions
- Tips for maintaining your crib
- Common mistakes to avoid
- And much more!
Table of Contents
- Understanding the Babyletto Lolly Crib
- Step-by-Step Assembly Instructions
- Tools You’ll Need
- Safety Features of the Babyletto Lolly Crib
- How to Convert the Crib into a Toddler Bed
- Tips for Maintaining Your Babyletto Crib
- Troubleshooting Common Issues
- Frequently Asked Questions
- Babyletto Lolly Crib vs. Other Cribs
- Final Thoughts
Understanding the Babyletto Lolly Crib
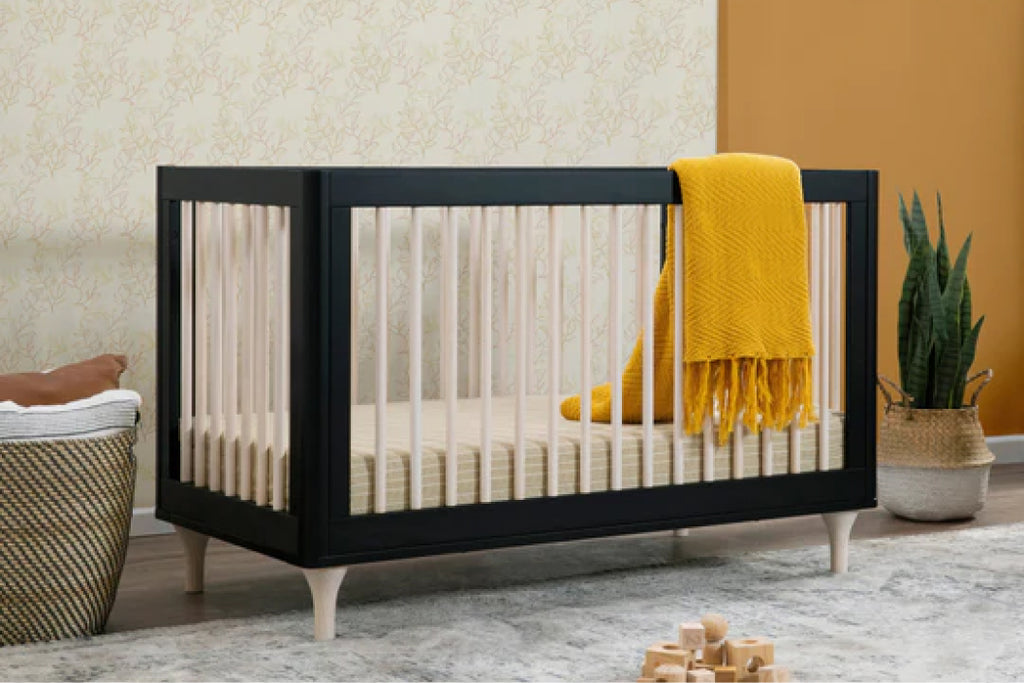
Let’s start with the basics. The Babyletto Lolly Crib is more than just a place for your baby to sleep. It’s a piece of art that adds a touch of elegance to your nursery. Designed with simplicity in mind, the Lolly Crib features clean lines and a minimalist design that complements any decor. Plus, it’s eco-friendly, which is a huge plus for environmentally conscious parents.
But what makes the Babyletto Lolly Crib stand out? For starters, it’s made from non-toxic materials, ensuring your baby’s safety. It also has three adjustable mattress heights, which is perfect for those sleepless nights when you’re trying to figure out the best position for your little one. And let’s not forget its convertible feature, which transforms it into a toddler bed when the time comes.
Why Choose the Babyletto Lolly Crib?
- Eco-friendly materials
- Three adjustable mattress heights
- Convertible design
- Modern and stylish aesthetics
Step-by-Step Assembly Instructions
Alright, let’s get down to business. Assembling the Babyletto Lolly Crib might seem daunting at first, but with the right mindset and a bit of patience, you’ll have it up and running in no time. Here’s a step-by-step guide to help you through the process:
First things first, make sure you have all the necessary parts. The Babyletto Lolly Crib usually comes with:
- Side panels
- End panels
- Mattress support
- Bolts and screws
- Assembly instructions
Now, let’s dive into the assembly process:
Read also:Kit Fosterrsquos Unique Path How Hersquos Redefining Success In Hollywood
Step 1: Unpack Everything
Take everything out of the box and lay it out on a flat surface. This will give you a clear view of what you’re working with. Trust me, this step is crucial. You don’t want to be halfway through the assembly only to realize you’re missing a screw.
Step 2: Attach the Side Panels
Start by attaching the side panels to the end panels. Use the bolts and screws provided in the kit. Make sure everything is tightened securely, but don’t overdo it. You don’t want to strip the screws, ya know?
Step 3: Add the Mattress Support
Once the frame is assembled, it’s time to add the mattress support. This is where the adjustable height feature comes in. Choose the height that works best for you and your baby. If your little one is still a newborn, you might want to go for the highest setting. It’ll save you a lot of bending over in the middle of the night.
Tools You’ll Need
While the Babyletto Lolly Crib comes with most of the tools you’ll need, having a few extras on hand can make the assembly process smoother. Here’s a list of tools that might come in handy:
- Phillips head screwdriver
- Ratchet set
- Allen wrench (usually included in the kit)
Having these tools will make tightening those bolts a breeze. Plus, they’ll come in handy for other DIY projects around the house.
Safety Features of the Babyletto Lolly Crib
Safety should always be your top priority when it comes to your baby’s sleeping arrangements. The Babyletto Lolly Crib is designed with safety in mind, featuring rounded corners and non-toxic finishes. But there are a few things you can do to ensure your baby’s safety:
- Use a fitted crib sheet to prevent suffocation hazards
- Keep soft toys and pillows out of the crib
- Check the crib regularly for loose screws or bolts
By following these simple tips, you can rest assured that your baby is sleeping in a safe environment.
How to Convert the Crib into a Toddler Bed
One of the coolest features of the Babyletto Lolly Crib is its ability to convert into a toddler bed. When your little one outgrows the crib, simply remove the end panel and attach the conversion kit. Voila! You’ve got a stylish toddler bed that your child will love.
Here’s how you do it:
- Remove the end panel opposite the side rail
- Attach the conversion kit according to the instructions
- Secure everything tightly
It’s that simple! Now your child can enjoy the same beautiful design as they grow.
Tips for Maintaining Your Babyletto Crib
Maintaining your Babyletto Lolly Crib is easy peasy. Here are a few tips to keep it looking its best:
- Dust the crib regularly with a soft cloth
- Avoid using harsh chemicals that could damage the finish
- Check the mattress support regularly to ensure it’s secure
By following these simple maintenance tips, your Babyletto Crib will last for years to come.
Troubleshooting Common Issues
Even the best-laid plans can go awry sometimes. If you encounter any issues while assembling or using your Babyletto Lolly Crib, don’t worry. Here are a few common problems and how to fix them:
Problem: Loose Screws
Solution: Tighten those screws! Use a ratchet or screwdriver to ensure everything is snug.
Problem: Creaky Crib
Solution: Apply a bit of wood glue to the joints. This will help eliminate any unwanted noise.
Frequently Asked Questions
Here are some common questions about the Babyletto Lolly Crib:
Q: Is the Babyletto Lolly Crib eco-friendly?
A: Yes, it’s made from non-toxic materials and is eco-friendly.
Q: Can the crib be converted into a toddler bed?
A: Absolutely! It’s one of the best features of the Babyletto Lolly Crib.
Babyletto Lolly Crib vs. Other Cribs
When it comes to choosing the right crib for your baby, there are a lot of options out there. So, how does the Babyletto Lolly Crib stack up against the competition? Here’s a quick comparison:
- Design: The Lolly Crib has a modern, minimalist design that stands out from the crowd.
- Materials: It’s made from eco-friendly materials, which is a big plus.
- Price: While it’s on the higher end of the price spectrum, the quality and features make it worth the investment.
Final Thoughts
There you have it, folks! The Babyletto Lolly Crib is more than just a crib; it’s a piece of furniture that will grow with your baby and add a touch of elegance to your nursery. By following the instructions in this guide, you’ll have it assembled in no time.
Remember, safety should always be your top priority. Regular maintenance and following the assembly instructions will ensure your baby’s safety and comfort.
So, what are you waiting for? Grab your tools, roll up your sleeves, and get to work. And when you’re done, don’t forget to share your experience in the comments below. Happy parenting!