Hey there! Connecting remote IoT devices securely is one of the most important aspects of modern tech. As smart devices continue to take over our world, making sure these connections are safe and efficient is absolutely essential for both personal and professional use. In this article, we’re diving deep into how you can securely connect your Raspberry Pi for peer-to-peer (P2P) communication, with a focus on Windows as the main platform for downloading and setting up the necessary tools. Let’s get started!
In today’s super-connected world, IoT devices are completely transforming the way we live and work. From smart homes that can adjust the temperature before you even walk in the door, to industrial automation that streamlines entire production lines, these devices bring convenience and efficiency to just about every part of our lives. But here’s the thing: with all this connectivity comes a huge responsibility to keep things secure. This article is your step-by-step guide to securely connecting your Raspberry Pi for remote P2P communication, ensuring your data stays safe and sound.
No matter if you’re a tech enthusiast who loves tinkering with gadgets, a professional developer building the next big thing, or just someone curious about IoT, this article has something for everyone. We’ll cover everything from setting up your Raspberry Pi to troubleshooting common issues, giving you all the tools and knowledge you need to succeed. So buckle up, because we’re about to dive into the world of IoT security!
Read also:The Big Scandal Rocking The Ncaa Is Michigan Cheating
Getting to Know IoT and Raspberry Pi
What Exactly is IoT?
Alright, let’s start with the basics. The Internet of Things, or IoT for short, is basically a network of physical devices that are embedded with sensors, software, and connectivity, allowing them to exchange data. These devices can range from something as simple as a smart thermostat to something as complex as an industrial machine designed to automate entire processes. The goal? To make everything more efficient and automated. But here’s the catch: for these devices to work effectively, they need secure communication channels. Understanding the basics of IoT is key if you want to integrate these technologies into your projects or daily life.
Raspberry Pi: The Little Computer That Could
Now let’s talk about the star of the show: the Raspberry Pi. This little guy is a small, affordable computer that can be used for just about anything, including IoT projects. It’s incredibly versatile, supporting multiple operating systems and programming languages, which makes it a dream for both developers and hobbyists. The Raspberry Pi is known for its flexibility and ease of use, and with its GPIO pins, it can interface with external devices and sensors, opening up endless possibilities for innovation.
- Raspberry Pi is all about flexibility and user-friendliness.
- It supports a wide range of programming languages, including Python, Java, and C++.
- With its GPIO pins, Raspberry Pi can connect to external devices and sensors, making it perfect for IoT projects.
Why Security Matters for IoT Devices
Listen up, because this is important. Security is not just a nice-to-have—it’s a must-have when it comes to IoT devices. Without proper security measures in place, your devices could be wide open to cyberattacks, leading to data breaches and potential financial losses. Nobody wants that, right? Securing your IoT devices ensures that your personal and sensitive information stays protected, no matter what. So why exactly should you prioritize security?
Here are the top reasons:
- Protection against unauthorized access—keeping the bad guys out is key.
- Prevention of data breaches—your info stays safe and sound.
- Enhancement of overall system reliability—when everything works smoothly, life is good.
How to Securely Connect Your Raspberry Pi for Remote P2P Communication
Step 1: Setting Up Your Raspberry Pi
Before you can even think about securely connecting your Raspberry Pi, you’ve got to get it set up properly. This involves installing the operating system, configuring network settings, and making sure all the necessary software is installed. It’s like laying the foundation for a house—you’ve got to get it right from the start.
Here’s how you do it:
Read also:Taylor Momsens Partner Whos The Lucky Guy
- Head over to the official Raspberry Pi website and download the latest version of Raspberry Pi OS.
- Use software like Balena Etcher to write the OS image to an SD card. This is like giving your Raspberry Pi its brain.
- Insert the SD card into your Raspberry Pi, power it on, and watch the magic happen.
Step 2: Configuring Network Settings
Once your Raspberry Pi is all set up, it’s time to configure its network settings. This is where you’ll set up Wi-Fi or Ethernet connections, making sure your device can talk to other devices on the network. Think of it like introducing your Raspberry Pi to the neighborhood—it needs to know how to communicate with everyone else.
Here’s how you configure those network settings:
- Access the Raspberry Pi configuration tool. It’s like the control center for your device.
- Set up Wi-Fi by entering your network credentials. This is where you tell your Raspberry Pi the password to your Wi-Fi network.
- Verify the connection by pinging a known IP address. This is like double-checking that your Raspberry Pi can actually talk to the network.
Downloading the Tools You Need for Windows
If you’re working on a Windows machine, downloading the right software to connect to your Raspberry Pi is a must. Tools like PuTTY for SSH connections and WinSCP for file transfers are your best friends in this process. They’ll help you bridge the gap between your Windows PC and your Raspberry Pi, making sure everything runs smoothly.
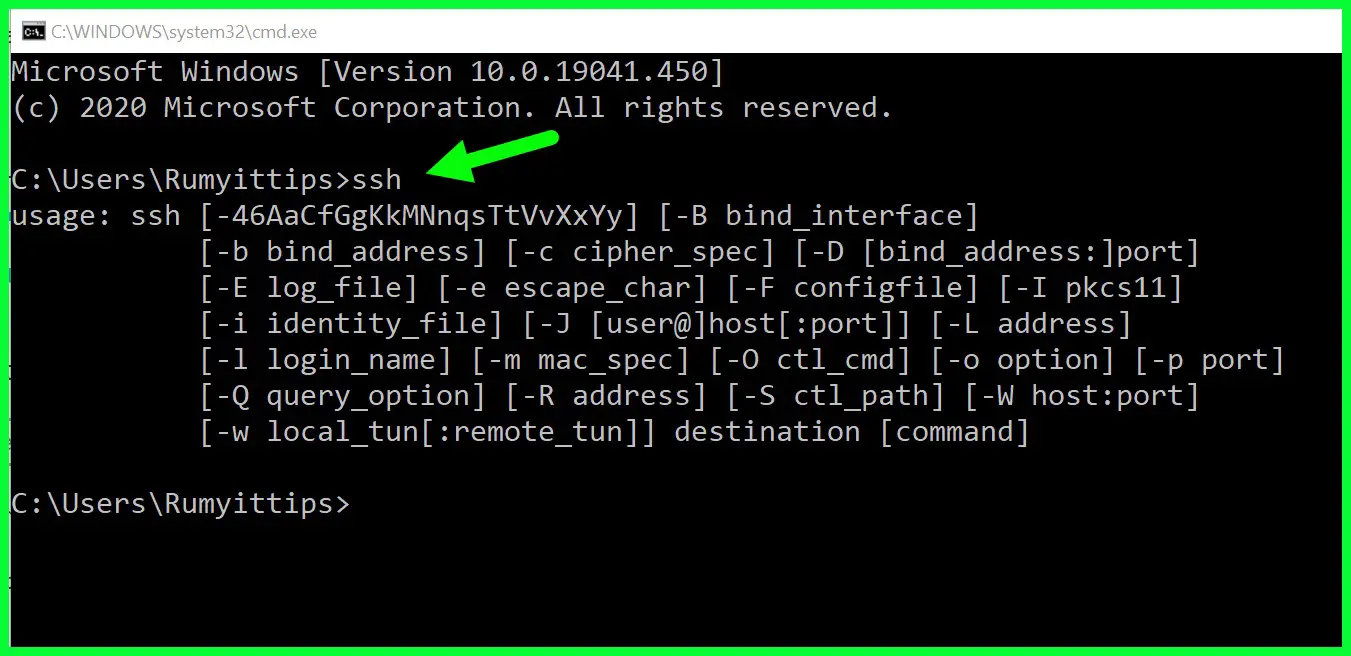
Using PuTTY for SSH Connections
PuTTY is a super popular tool for establishing SSH connections between your Windows PC and Raspberry Pi. It lets you remotely access your Raspberry Pi’s terminal and execute commands, giving you full control over your device from afar. It’s like having a remote control for your Raspberry Pi.
Here’s how you use PuTTY:
- Download PuTTY from the official website. Make sure it’s the real deal—don’t fall for any sketchy downloads.
- Open PuTTY and enter your Raspberry Pi’s IP address. This is how PuTTY knows where to connect.
- Connect and log in using your Raspberry Pi’s credentials. You’re now in business!
Using WinSCP for File Transfers
WinSCP is a secure file transfer protocol (SFTP) client that lets you transfer files between your Windows PC and Raspberry Pi. It’s like a courier service for your files, making sure they get from point A to point B safely and securely.
Here’s how you use WinSCP:
- Download WinSCP from the official website. Again, make sure it’s legit.
- Enter your Raspberry Pi’s IP address and login credentials. This is how WinSCP knows where to send your files.
- Transfer files by dragging and dropping them between your PC and Raspberry Pi. It’s as easy as that!
Putting Security First
Using SSH for Secure Communication
SSH, or Secure Shell, is a protocol that provides secure communication between devices over an unsecured network. It’s like a secret code that keeps your Raspberry Pi’s communication encrypted and protected from prying eyes. If you want to keep your data safe, SSH is your go-to solution.
Here’s how you implement SSH:
- Enable SSH on your Raspberry Pi by accessing the configuration tool. This is like flipping the switch to turn on security mode.
- Use tools like PuTTY to establish SSH connections from your Windows PC. Now you’ve got that secure line of communication.
- Regularly update your SSH keys to keep things extra secure. Think of it like changing the locks on your house every now and then.
Configuring Firewall Settings
A firewall is like a bouncer at a club—it decides who gets in and who stays out. Configuring your firewall settings ensures that only authorized traffic can access your Raspberry Pi, keeping it safe from potential threats on the internet. You don’t want just anyone waltzing into your network, right?
Here’s how you configure firewall settings:
- Install a firewall software like UFW (Uncomplicated Firewall) on your Raspberry Pi. It’s like hiring a security guard for your device.
- Set up rules to allow or deny specific types of traffic. This is where you decide who gets in and who doesn’t.
- Monitor your firewall logs regularly to detect any suspicious activity. It’s like checking the security cameras to make sure everything’s okay.
Understanding P2P Networks
What Makes P2P Communication So Great?
P2P networks allow devices to communicate directly with each other without needing a central server. This type of communication is perfect for IoT devices that need to exchange data quickly and efficiently. Imagine two devices having a direct conversation instead of going through a middleman—it’s faster, more reliable, and less expensive.
Here are the key benefits of P2P communication:
- Reduced latency compared to server-based communication. Faster is always better, right?
- Improved scalability and reliability. More devices can join the network without slowing things down.
- Lower costs due to reduced reliance on central servers. Who doesn’t love saving money?
How to Set Up P2P Communication with Raspberry Pi
To set up P2P communication between Raspberry Pi devices, you’ll need to configure them to communicate directly. This involves setting up static IP addresses, configuring network interfaces, and making sure both devices are on the same subnet. It’s like setting up a private chatroom just for your Raspberry Pi devices.
Here’s how you do it:
- Assign static IP addresses to both Raspberry Pi devices. This is like giving them permanent addresses so they can always find each other.
- Configure network interfaces to allow direct communication. Now they can talk to each other without any issues.
- Test the connection using tools like ping or SSH. Make sure everything’s working smoothly before you call it a day.
Tackling Common Issues
Even with the best planning, issues can still pop up when connecting IoT devices. Knowing what to look for and how to fix common problems can save you a ton of time and frustration. Let’s dive into some of the most common issues and how to troubleshoot them.
Network Connectivity Issues
Network connectivity issues are one of the most common problems when setting up IoT devices. These can be caused by incorrect IP configurations, faulty cables, or Wi-Fi interference. It’s like trying to call a friend but getting a busy signal instead.
Here’s how you troubleshoot network connectivity issues:
- Check your IP address settings and make sure they’re correct. Double-check everything to avoid any mistakes.
- Test your network cables or switch to a different Wi-Fi network. Sometimes it’s as simple as swapping out a cable or changing networks.
- Restart your router and modem to refresh the connection. It’s like hitting the reset button and starting fresh.
Security Configuration Problems
Security configuration problems can stop your Raspberry Pi from communicating securely. These issues might come from outdated SSH keys, incorrect firewall rules, or misconfigured encryption settings. It’s like trying to lock your door with the wrong key—it just doesn’t work.
Here’s how you address security configuration problems:
- Update your SSH keys regularly and make sure they’re unique for each device. Fresh keys are always better than old ones.
- Review your firewall rules and make adjustments as needed. Sometimes you’ve got to tweak things to get them just right.
- Verify that your encryption settings are up to date and comply with best practices. Staying current is key to staying secure.
Wrapping It Up
So there you have it! Securing remote IoT devices using Raspberry Pi is a crucial step in making sure your projects are safe and reliable. By following the steps we’ve outlined in this article, you can set up a secure P2P connection that protects your data and enhances your device’s functionality. It’s all about taking the right precautions to keep everything running smoothly.
We encourage you to take the next step by experimenting with your Raspberry Pi and exploring the endless possibilities of IoT. Leave a comment below if you have any questions or share this article with others who might find it useful. For more in-depth guides and tutorials, check out our other articles on the website. Happy tinkering!
Table of Contents